Microcellular Injection Molding has become more and more popular over the past few years. However, catching the bubble density and bubble size distribution is a very difficult task. In this article, the process of using Moldex3D special modules microcellular injection molding is illustrated in detail.
First, select the solver type 3D Solid Model Solver and the application type Microcellular injection molding.

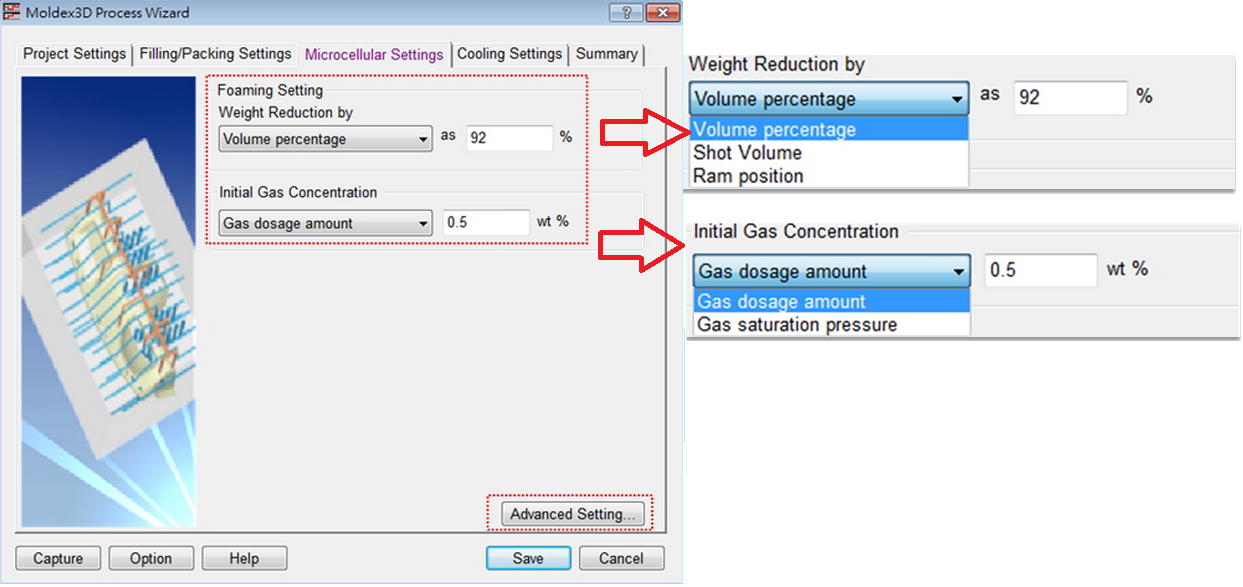
In the microcellular settings for process settings, there are two foaming settings for users to specify:
Weight Reduction by:
A certain quantity of material can be specified here. The method of weight reduction can be assigned as volume percentage (%), shot volume (cm3), or ram position (mm).
Initial Gas Concentration:
The initial gas concentration can be set as gas dosage amount (wt %) or gas saturation pressure (MPa).
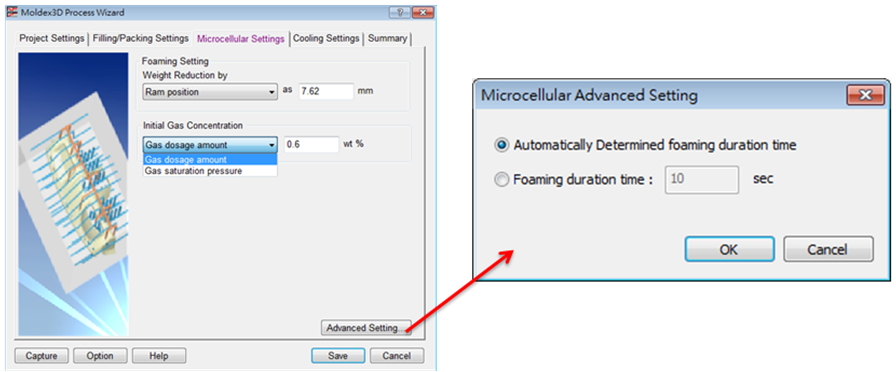
Advanced Settings (Foaming Duration Time)
The foaming duration time can also be specified by the user. By default without setting the time, the software will determine the foaming duration time automatically according to the previous foaming settings and materials.
Note that: The microcellular advanced settings dialog box will pop up for the foaming duration time settings by clicking on the “advanced settings” button.
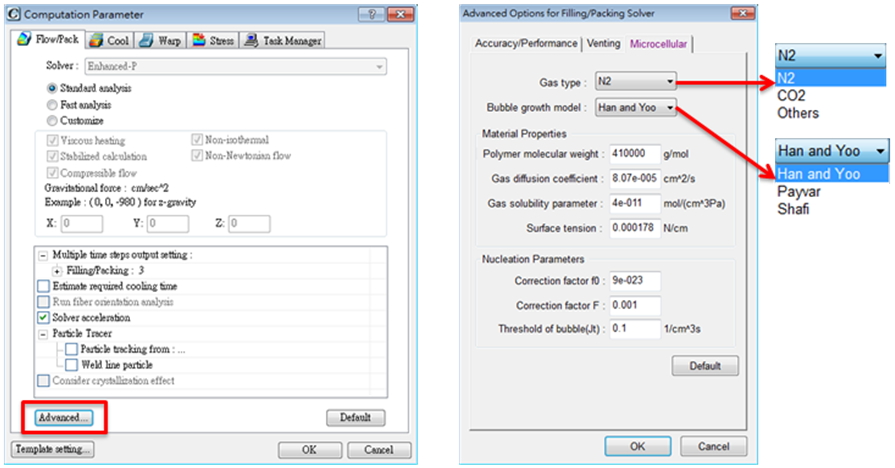
Computation Parameters
Users can specify the gas type according to its weight, diffusion coefficient, surface tension,…etc. Also the commonly used gases, N2 and CO2, are provided with the properties. The bubble growth model includes Han and Yoo, Payvar and Shafi.
Note that: Clicking on the “Advanced” option for the filling/packing solver on the Fill/Pack tab will allow users to input further microcellular simulation parameters, including gas type, bubble growth model, material properties, and nucleation parameters.
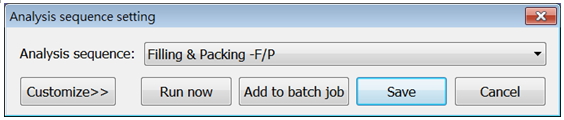
In the last step, select the desired analysis sequence and click “Run now” to start the analysis.
Analysis Output
- Microcellular analysis results such as cell size and cell density can be selected in the project workspace.
- Users can click the “slicing function” through the display toolbar to display the results on the internal area.
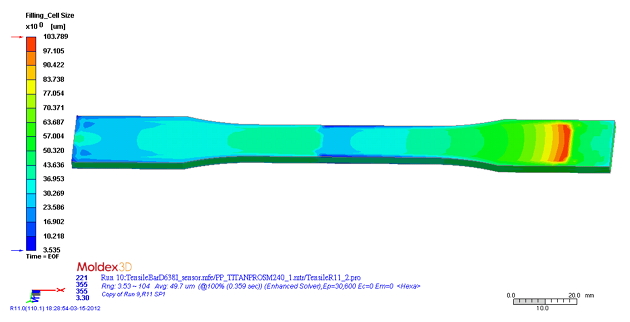 Cell size (bubble diameter, μm)
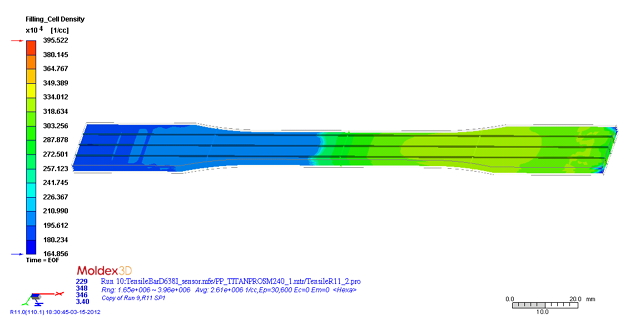 Cell density (bubble number density, 1/cc)
Users can also examine the density distribution, which reveals the weight reduction effect during the foaming process.
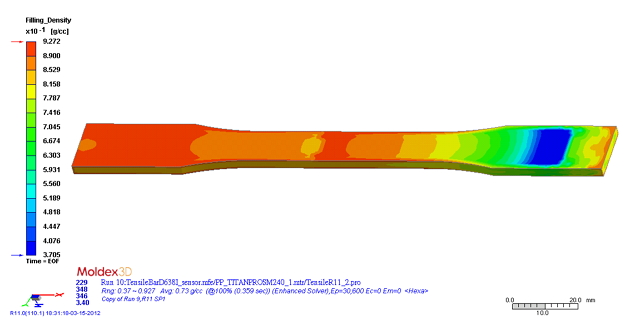
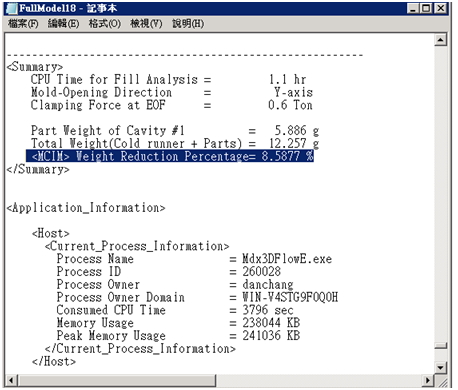
Finally, the weight reduction ratio information will be recorded in the log file.