
When thermosetting resin is being heated, polymerization begins. With the aid of cross-linking agents, chemical cross-linking points and a network structure are formed around the functional groups of the reactive components. Cross-linking will reinforce the polymer chains to form a solid 3-dimensional structure.
Post curing is the process of exposing a part or mold to elevated temperatures to speed up the curing process and to maximize some of the material’s physical properties. Post curing will expedite the cross-linking process and properly align the polymer’s molecules. Much like tempering steel, post curing thermosets can increase physical properties (e.g., tensile strength, flexural strength, and heat distortion temperature) above what the material would normally achieve at room temperature.
Moldex3D Post Curing (Post Mold Cure, PMC) analysis not only supports normal post cure process, but also could be used in in-mold-cure (IMC) stage. It is a useful tool to help users to study the curing situation and ensure the physical strength.
PVTC and viscoelastic property are the required inputs for material data. Cure shrinkage of epoxy is a significant parameter for IC packaging. The P-V-T-C equation is examined to verify that warpage is governed by thermal shrinkage and cure shrinkage. And viscoelastic property is also necessary parameter in both PMC and IMC processes.
The following is an example of how to setup a Post Mold Curing Analysis in Moldex3D R14:
Step 1. Open Computation Parameter setting. Click Stress tab and select Post Curing as
Analysis Type.
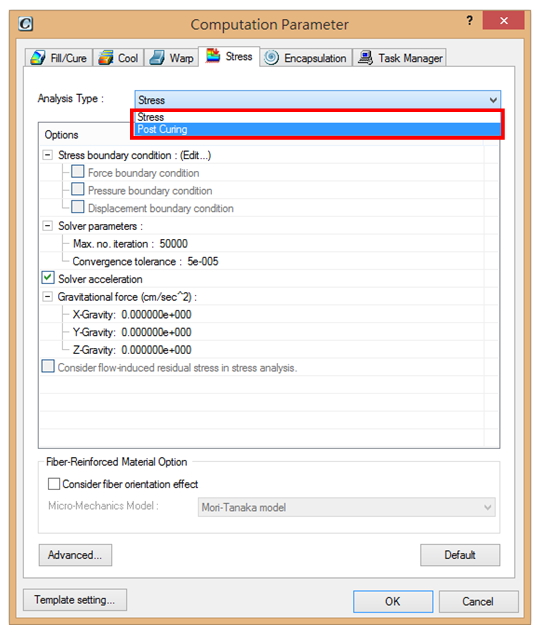
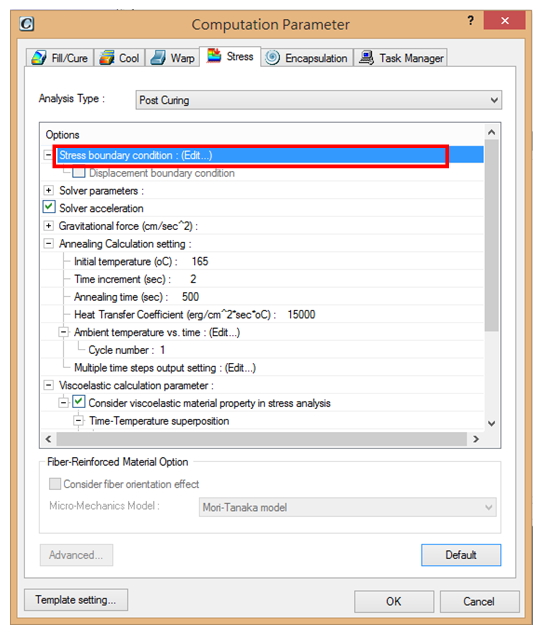
Step 2. Choose Stress Boundary Condition setting and click Edit. Moldex3D Designer will open directly for boundary condition editing.
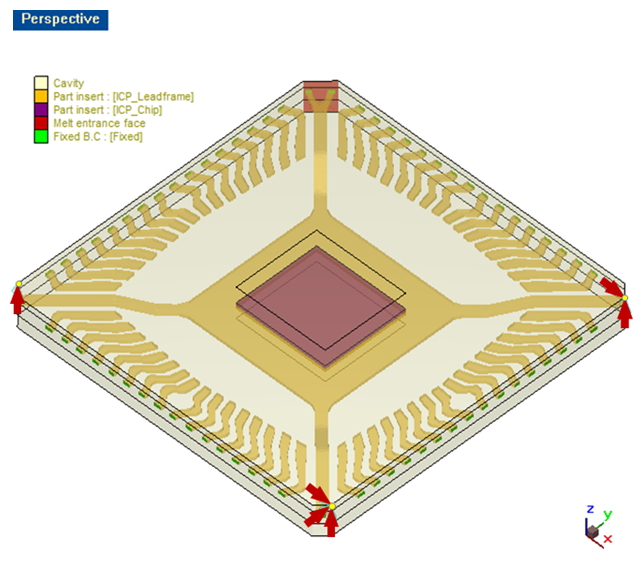
Set up boundary setting and click OK ![]() to finish setting.
to finish setting.
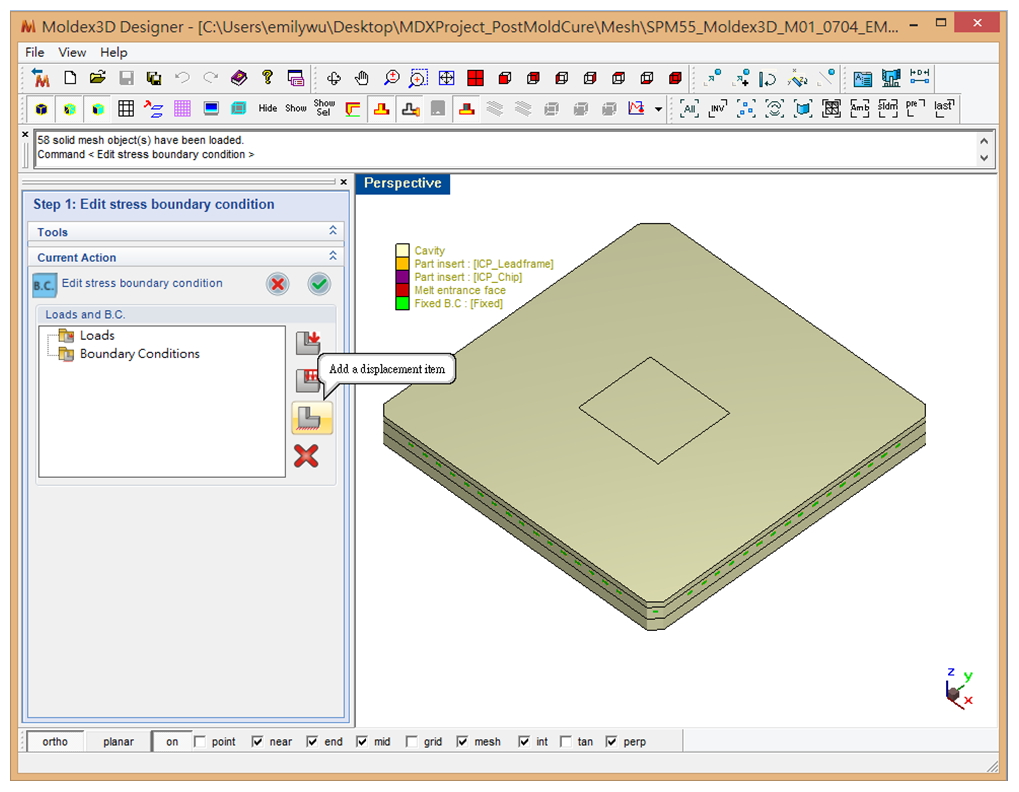
(Tip: Follow the steps below and set up base point, and displacement result would be based on it. Select three orthogonal points. Add three directions as fixed on first point. Add x and z directions as fixed on the second point. Add z direction as fixed on the final point.)
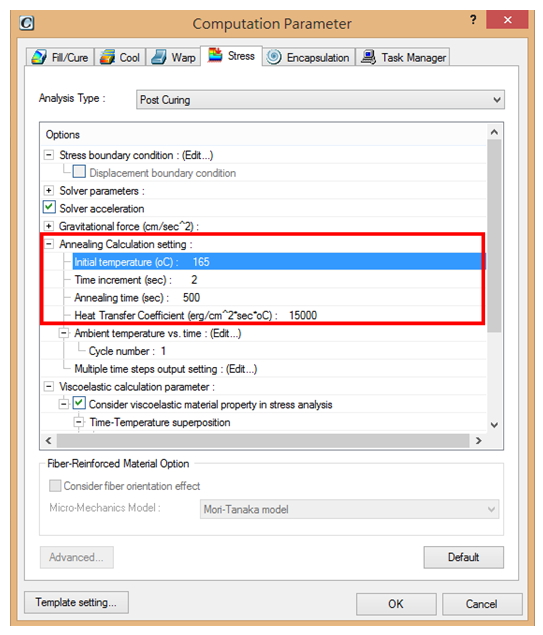
Step 3. Click Annealing Calculation setting and key in “Initial temperature”, “Time increment” and “Annealing time”. “Time increment” is for analysis iteration interval.
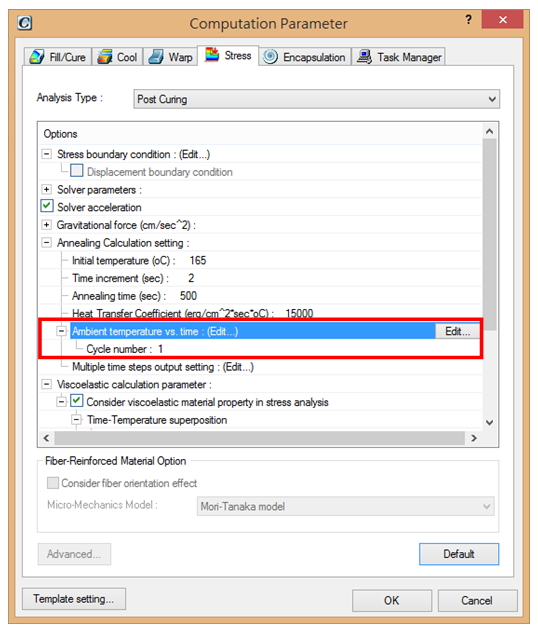
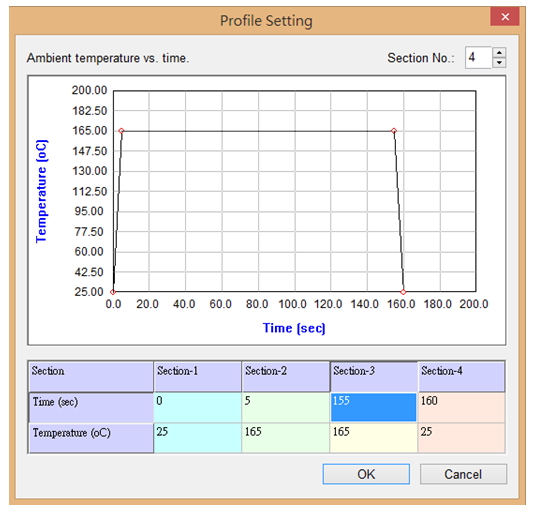
Step 4. Open Ambient temperature vs. time setting page and edit it according to the post curing process.
Step 5. Click Multiple time steps output setting. User could decide no. of time steps and edit value for each time step output on the exact timing.
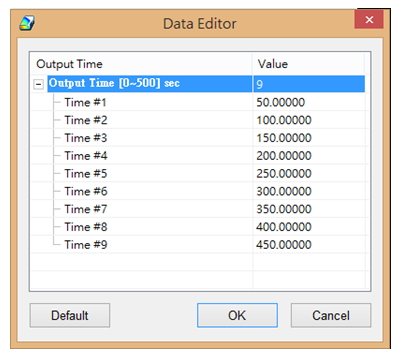
(Tip: Output Time should match “Time increment”)
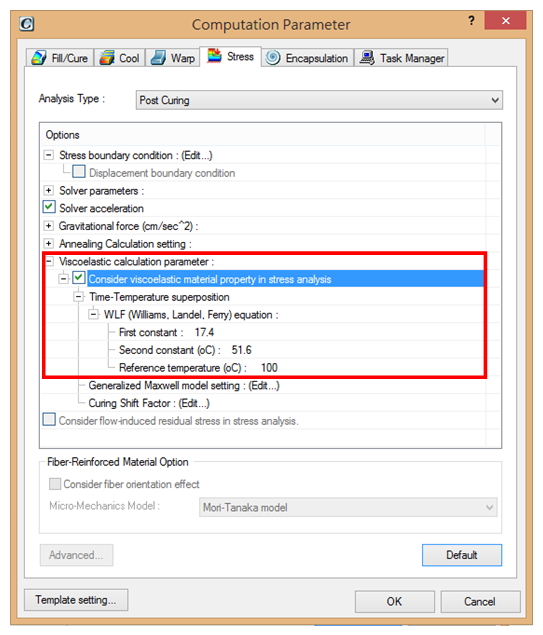
Step 6. Check “Consider viscoelastic material property in stress analysis”. And key in data for Time-Temperature superposition. Here, Moldex3D also supports WLF equation.
(Tip: User could use Default data for WLF equation.)
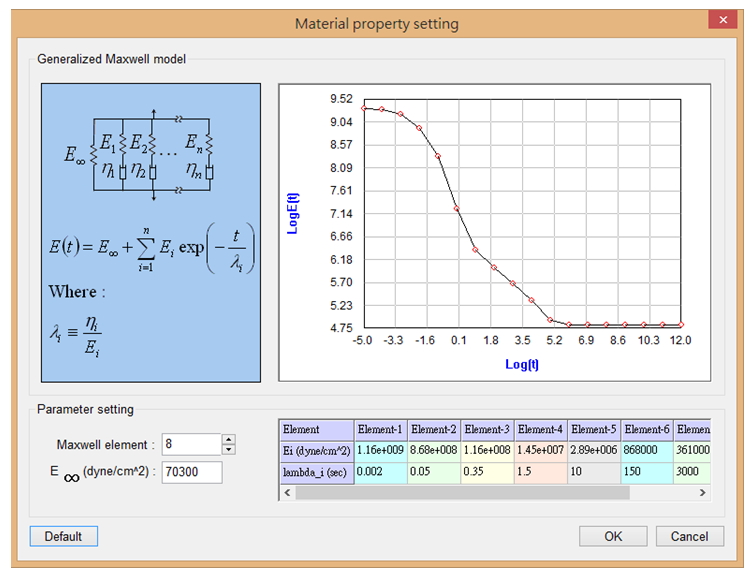
Step 7. Open Generalized Maxwell Model setting.
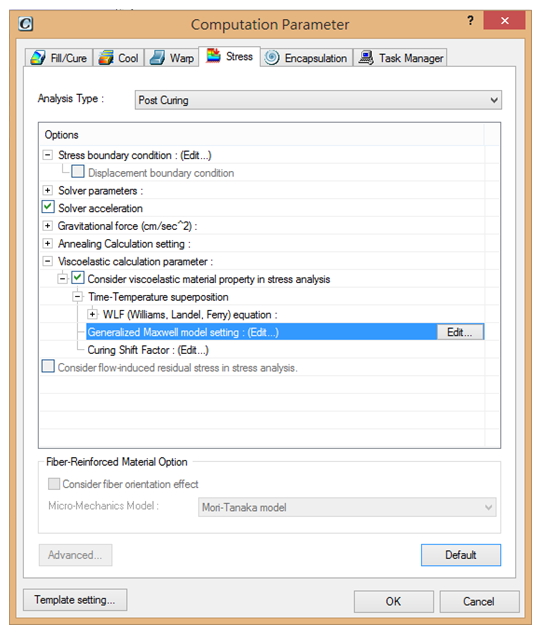
According to the material property, key in parameters and check the figures on the window.
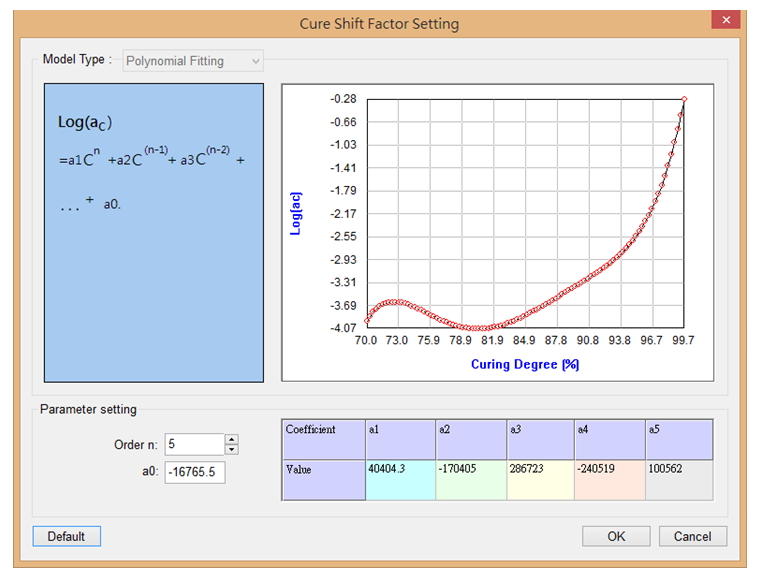
Step 8. Open Curing Shift Factor.
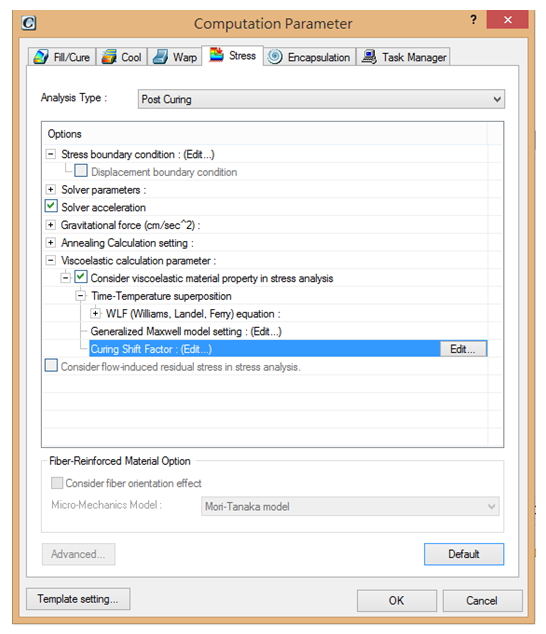
According to the material property, key in parameters and check the figures on the window.
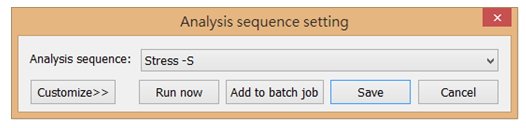
Step 9. Double click Analysis sequence setting ![]() and run Stress-S analysis.
and run Stress-S analysis.
(Tip: For in-mold-curing analysis, users should obtain a Filling analysis before running a stress simulation to ensure the end of filling status will be taken into account in the in-mold-curing analysis. On the other hand, users need to run Filling and Curing before Post Mold Curing analysis.)