
Moldex3D recently developed a tool to set the compression zone in Moldex3D Designer. It takes just a few steps to complete the pre-processing setup for compression molding. Moreover, this tool supports both Designer eDesign mode and Designer BLM mode.
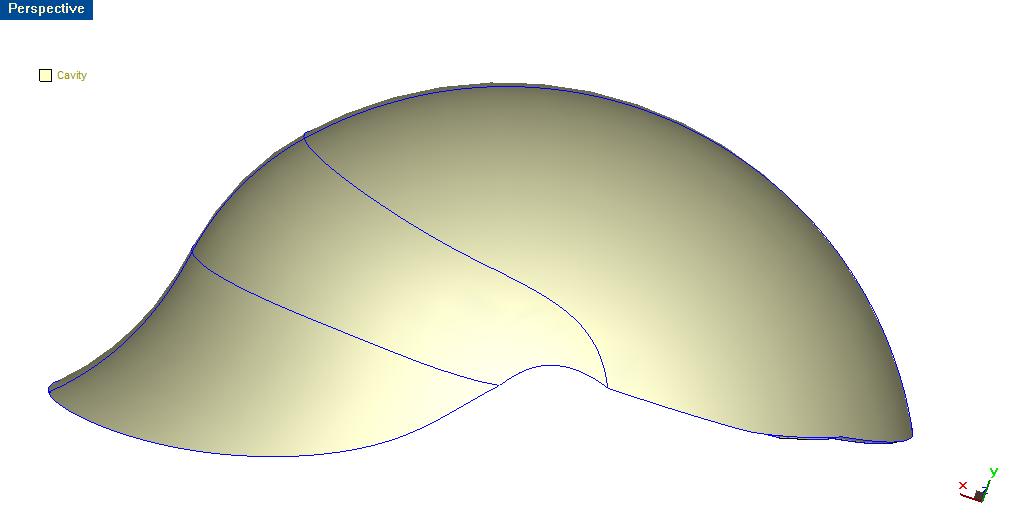
First, import your geometry for the cavity in Moldex3D Designer (as shown in the figure below).
Next, follow the steps below to complete the compression zone setting.
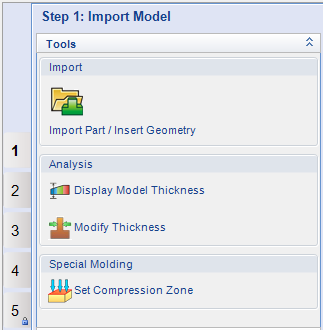
Step 1. Click ![]() to start compression zone setting. You can find the icon in the workspace of the first tab.
to start compression zone setting. You can find the icon in the workspace of the first tab.
Step 2. After clicking ![]() a setting dialog box comes up. Select the model and move to the next step.
a setting dialog box comes up. Select the model and move to the next step.

Step 3. Set the compressing direction of the product. In this model, the compressing direction is set in the –y direction.

Step 4. Select the surface as the compression region. Note that if there are multiple surfaces, click and hold the “Shift” key at the same time when picking surfaces.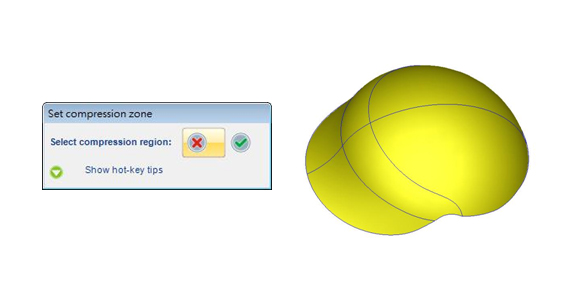
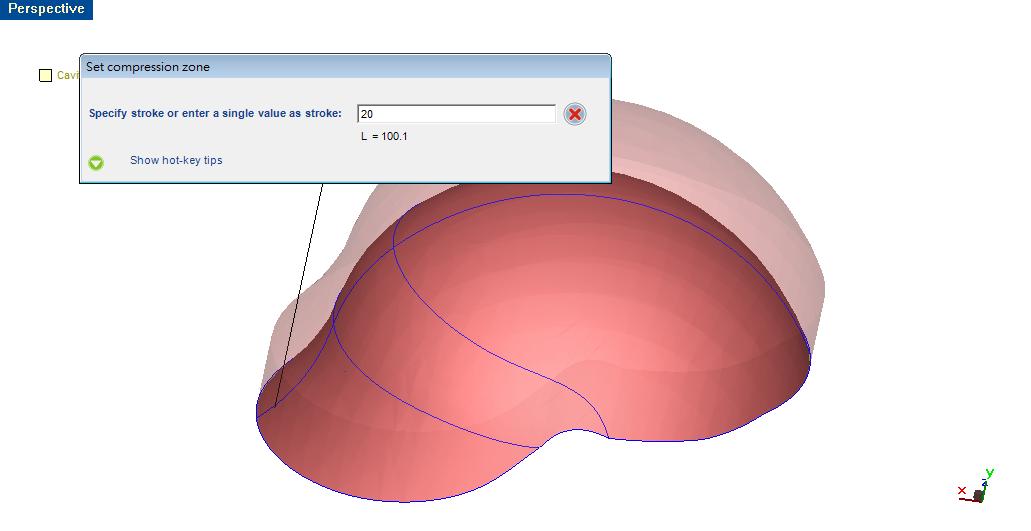
The compression zone is done and marked in red after setting the height of the compression zone. 